How To Overclock PC For Gaming
Do you go through PC’s performance issues when it comes to smooth gameplay? Do you understand the need to overclock PC for better gaming experiences? If not and you want to learn, then come with us on this journey to explore how to overclock your PCs for gaming.
Our experts will guide you on the importance of overclocking, the ways of overclocking and how to overclock the CPU and GPU of your PCs. So, wait no more.
Let’s Start Now!
Is Overclocking Good For Gaming?
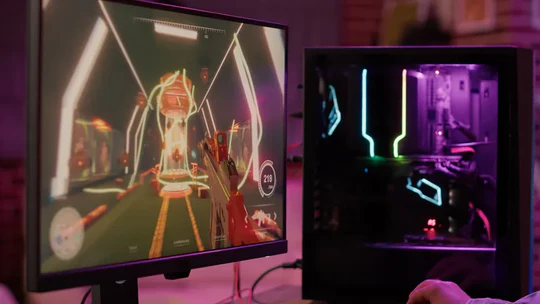
Overclocking helps you to gain performance boost. The performance boost will ensure that your CPU has a tendency to make complex calculations much more efficiently. This will help you to have a smoother and lag free gaming experience.
However, the overclocking in gaming PC might also come with certain setbacks. These setbacks include hardware upgrades, warranty issues, increased power consumption and stability issues.
1. Performance gains
The CPU overclocking tends to improve the framerate in gaming PCs. The CPU overclocking allows you to experience smoother gameplays. The performance gains allow improved complex calculations during the gameplays.
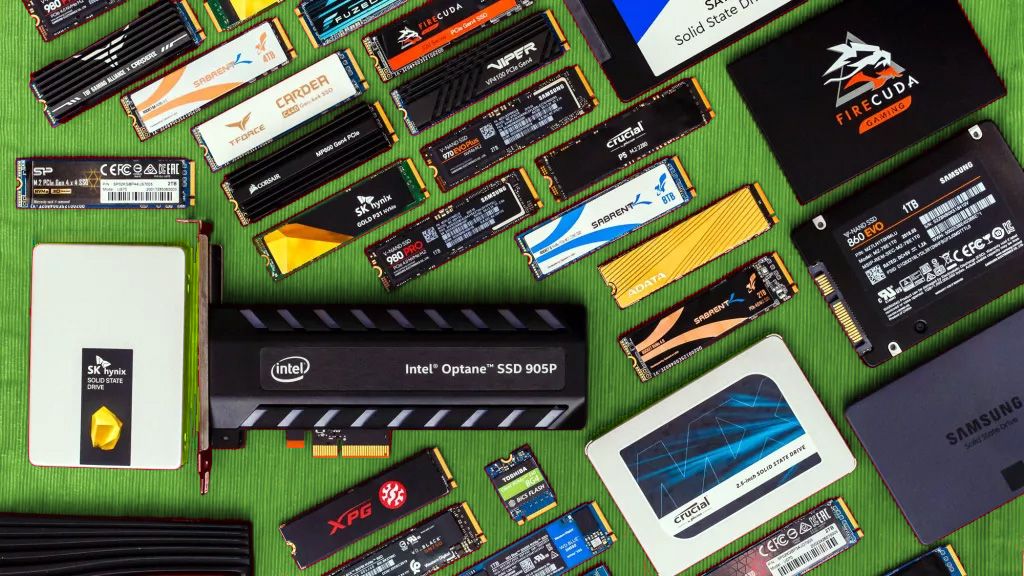
2. Hardware Upgrades
Overclocking requires hi-end cooling mechanisms. Overclocking needs upgraded computer cases.
3. Warranty Issues
The overclocking might put your components out of the company warranty the overclocking reduces the life of the components overall.
4. Power consumption
The increased power output requires higher energy inputs Increases power bills.
5. Stability and efficiency issues
The overclocking makes the reliability a bit compromised Reliability issues might bring lags and system freezing the efficiency is compromised due to the increased fan noise.
Is It Good To Overclock Your PC?
It is very good to overclock your PCs due to the following reasons:
- Strong performance
- Cost effective method to boost performance of the PC
- Personalization and good control
- Used for particular jobs
But you need to consider the following factors:
- Cooling solution
- Component quality
- Reason for overclocking
- Knowledge
- Skills
How To Overclock Your PC For Gaming?
There are a number of steps which you will have to follow to overclock your PC for gaming. All these steps need to be followed with great attention to detail, as missing out on one step or detail might cause errors.
Also, missing the details can also prevent you from achieving your desired performance goal and aims.
Overclock Your CPU For Gaming PCs
CPU overclocking is a way to boost your CPUs performance for the gaming PCs. It is important to know that all CPU available in the market are not compatible with the overclocking. There should be an unlocked multiplier available in your CPU to gain extra performance.
There are a number of ways in which you can overclock your CPU. The overclocking of your CPU for gaming PCs allows you to boost up your CPU performance significantly. This boost helps you to achieve improved processing and smooth gaming experience. The overclocking will also allow the CPU to make gaming calculations with an efficient processing speed.
1. Get Software For Overclocking Your CPU.
The overclocking of CPU has also been done with the help of software. The recommended software for overclocking is. But, to ensure that this software overclocking works. It is important to add monitoring and temperature tracking upgrades to your CPU.
CPU-Z and Real Temp should be used for monitoring and temperature tracking respectively. Once you have added the CPU-Z and Real Temp, now you can proceed with downloading the Prime95 software. The completion of this process will take you to the final stage of overclocking your CPU with software.
You can use a benchmarking tool to identify the clock speed of our CPU. This benchmarking will reflect that performance boost in your CPU.
2. Make Sure Your Computer’s BIOS And Drivers Are Up To Date.
To ensure that you are able to overclock your CPU. It is important that your computer is up to date. The update is not only restricted to the operating systems and the drivers, but it also should include the BIOS firmware.
There is a simple guide towards updating the BIOS firmware of your CPU. The first step is to identify the firmware that you are already using. You need to identify the precise model and make of your motherboard. There are multiple ways to find the exact make and model your motherboard and its firmware.
But we will recommend you use the. The CPU-Z app will allow you to know the exact details by just opening the app and clicking on the mainboard tab. Once you are familiar with the make and model details, you can move towards the next step. The updates to the firmware BIOS should be available on the manufacturer’s website.
You can go to the website and download the exact variant of the update. It is important that you only download the exact version of the update because the other ones will not work.
The wrong version can break your motherboard. Now after you have successfully downloaded the firmware you can go to the BIOS screen by hitting F2, F8 or F12 key. This screen will directly take you to the BIOS update utility and you can update your firmware.
3. Set Your Motherboard Settings Back To Their Original Defaults.
It is important to ensure that your BIOS has updated and is functional. Without the installation of the update there are no benefits. In this step, after ensuring that you have correctly updated the firmware BIOS. You need to restart the computer and get back into it again.
After reaching the main screen of your computer, you have to search for the option of optimized settings. The features in optimized settings will allow you to factory reset your motherboard to its original default settings. The factory resetting will take the settings back to the original except for the BIOS firmware. The update you have made to the firmware will remain intact.
After resetting it is recommended that you open the boot settings and double check the PC booting storage drive. The BIOS offers you a number of automatic clocking options.
But these automatic options are subjective to make and models of the motherboards. If you get lucky, your CPU will over clock manually. But, if it doesn’t happen, you can over clock the CPU by entering into manual overclocking platform.
4. Change The Clock Multiplier As Needed.
The clocking speed is determined by the multiplication of the two factors. These factors include the base clock and the CPU multiplier. To enhance the CPU clocking, you can increase the processor clocking speed by one unit.
Once you have increased the processor clocking multiplier, it is recommended to run the Cinebench on your system. It will help you to identify the stability of your CPU. To see the final clocking calculation on the screen. You will have to adjust the setting of the cores to Manual/sync.
After getting the final results, you have to save the settings and restart your computer. After getting back to the windows screen you have to run the CPU-Z and real temp on your system. These two programs will help you to identify that your CPU is running at an ideal temperature and doesn’t become very hot. The CPU-Z will allow you to check for the stability of the CPU.
Now you just have to reboot into BIOS and rinse, follow this unless you have achieved your desired results. However, if you experience the message which says that overclocking has failed. You have to step down the multiplier by one and then again reboot for the testing.
5. Check If Your Computer Works Smoothly Without Problems.
This is one of the crucial steps in the process of overclocking your CPU for gaming PCs. This step is based on checking the stability of your CPU after you have achieved the desired results from the overclocking.
In our recommendation it is important to give your CPU a 10-12-minute-high stress testing time. To do so, you can use Prime95. If your computer and CPU has survived this 10-minute torture test, then you have made a solid upgrade to your CPU.
But if you have failed then you can start again from step 1 or lowering your CPU clocking. Lastly, in this step of the process you have to ensure that the test running on Prime95 is stopped manually.